


Become expert in performance marketing
In the free courses, you will learn how to work more effectively with product data and get more out of your advertising in a short time.
Get started with Mergado Editor
How to register
The first step is registration. Start your journey of automated feed editing in Mergado by registering. It’s simple — just fill in a few mandatory details and choose a billing period. Our help will guide you through the registration process in more detail.
How to create first project
The creation of the project is an absolutely essential. In simple steps you upload a feed, assign it to your online store, and choose the input and output format. We’ll walk you through the process step by step in our video help.
How to Feed Audit
1. Enter the URL and format of your feed in the Audit.
2. Fill in the email where we should send the results.
3. Let Audit check the quality of your feed.
4. Correct errors and imperfections easily in Mergado Editor.
If you are already using Mergado, you can also find the feed audit for any of your projects on the Overview page.
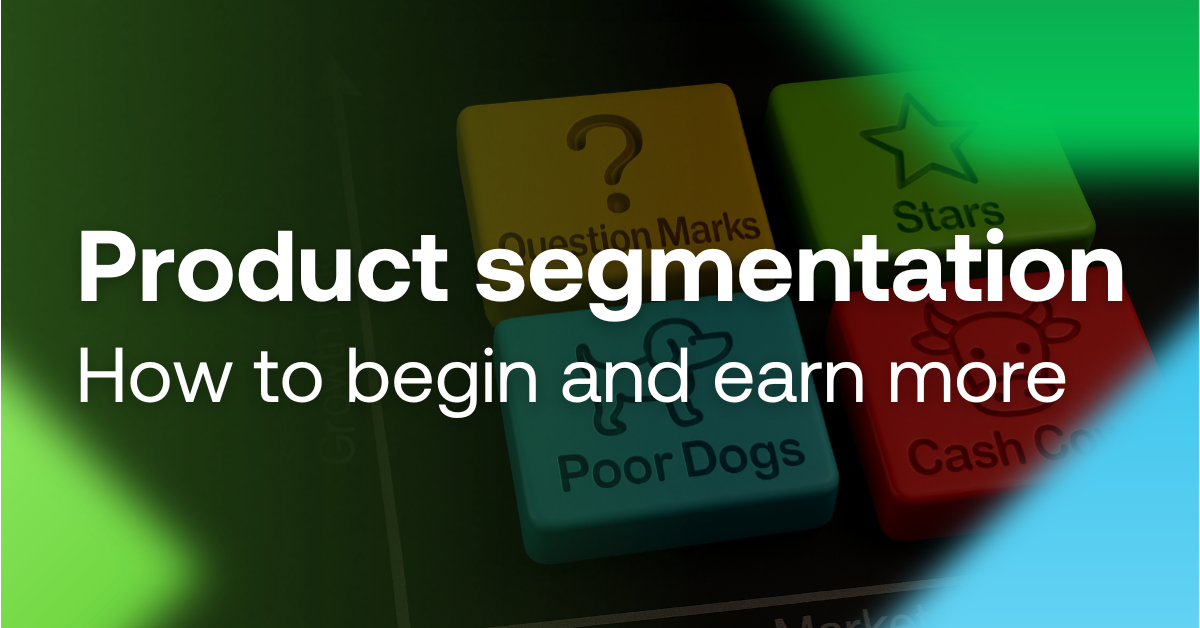
Working with Products and creating Queries
On the Products page, you will find all import and export data. There is a search box at the top to help you filter your products. Below you will find additional data about your products that you can view and edit.
Working with Rules
Rules in Mergado are used for bulk editing of products in combination with queries. When you create a rule, you select its type, specify the selection of products to apply the rule to, and the element you want to edit. Rules are useful for large-scale changes to the feed, such as bulk price edits.
How to enable new extension
The Mergado Store offers extensions that enrich the Mergado Editor with additional features. It is a source of useful tools for your online store, be it small features or complex marketing tools. It can be accessed through the Mergado administration by clicking on “Mergado Store”.